Wednesday 19 September 2012

So finally the chassis is stripped bare, not much more to be done here until the sandblasting is completed. 
This has to be one of the most sturdily built chassis around, really heavy duty girders. 
This is the engine side as evidenced by the recess. 
These are the four engine mounting brackets. 
Attention was turned to one of the wheels. 
Reference of the locking nut. 
Various views showing the retaining straps for the hydraulic lines. 
Clamps again. 
And again some more retaining clamps.
This is one of the attachment points for the engine mounting brackets.

Stripping of the chassis continues, on our left is the direction control lever, when the main driver wants to relinquish driving controls he pulls this lever which changes the gearing in the gearbox allowing the rear facing driver to assume control without much effort. One the right is the hand brake lever. 
An overall view showing the direction change and brake lever. 
This pile of spaghetti is the wiring harness, another big challenge to be overcome. 
With the muck and grime cleaned up a bit the pedal cluster becomes visible. The whole unit is completely rusted solid, this will require the judicious application of acetylene heat to loosen up. 
Looking directly down into the front of the chassis one can see the two master brake cylinders. 
The alloy used in the manufacture of these electric fuel pumps has become brittle over time resulting in the cracking off of parts you see here, I don't hold much hope for re-conditioning of these components because of this reason. 
Another example of cracking found on the fuel filter. 
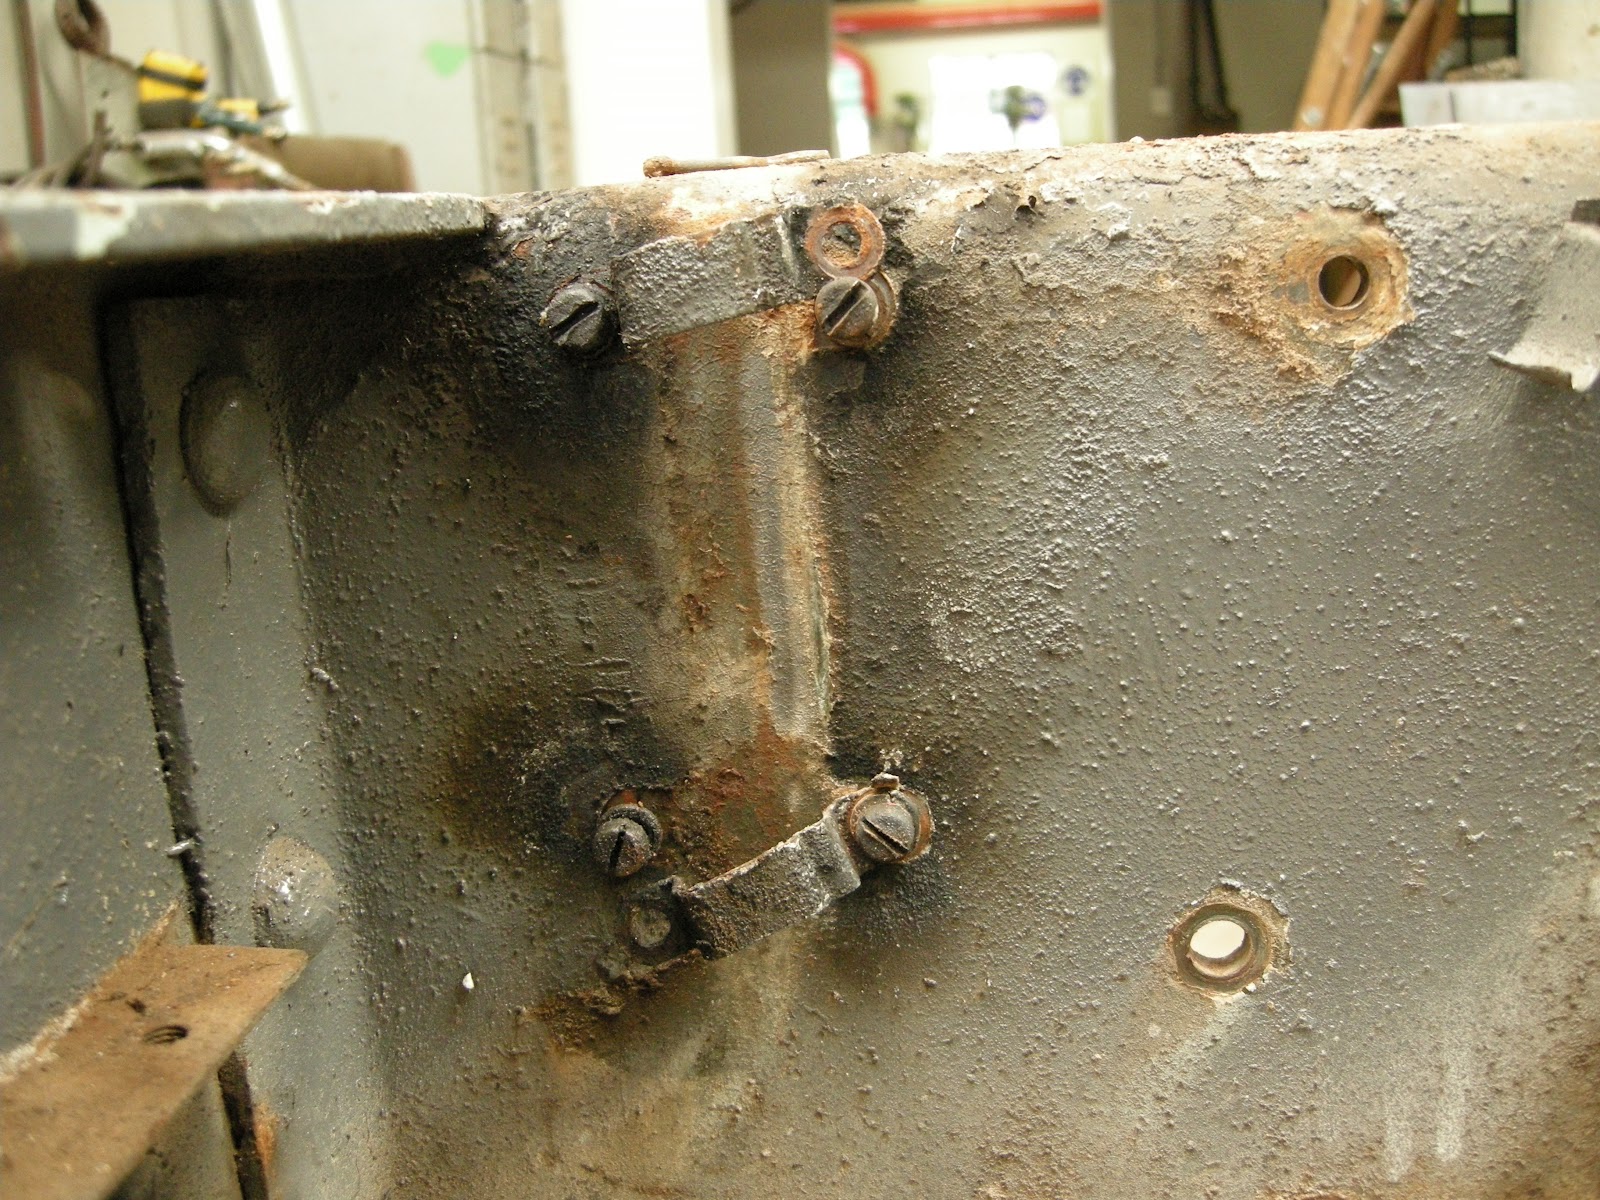
The gear shift bracket has also been broken over time, this will require specialised welding to fix. 
Another view of the wiring harness. 
This pedal with a roller on it is the accelerator.

To the left of the driver side the two pipes seen are for the brake fluid reservoir and the other two you see in the cluster are the hydraulic lines to that sides wheels. 
Reference shots showing the location of the pipes as well as their retention straps. 
A spider has made this secluded spot its home for a nest. I hate to disturb this but what can you do. 
The wheel cowling removed, the bracket on the right is one of the mounting points for a fuel tank. 
The other side cowling yet to be removed, you can see two grease nipples which are the lubrication points for the steering box as well as the pedal cluster. 
Now this was an exciting find, one of the original manufacturers stickers found inside a suspension bracket. 
An overall picture showing the whole component. 
And a close up of the wording, I wonder if that Tel. No. is still in operation? 
The first couple of suspension units I stripped down this time I simply removed the whole assembly. It will be stripped down for sandblasting later. 
Here you can see many of the components are already removed, not long now and it'll be ready for sandblasting. 

The suspension bracket being stripped, in the foreground is the steering box and to the left is the steering linkage. 
A detailed shot, the colour appears black. 
The lower wishbones can be seen here, the wishbone on the left had seized and the pin had to be knocked out with a great deal of effort to free it up. 
Another detailed view of the steering control box. 
The rust underneath the steering box. 
The following images are for my reference as to where everything goes for re-assembly. The flexible metal conduit is really something, finding replacement conduit of this type for the damaged portions is going to be a challenge. 
More reference shots, all this has to be removed before the tubular cross member can be removed. 
The four retaining bolts that anchor the cross member to the suspension units. 
All the wiring has been removed and it's ready to come off. 
Evidence, once again, of the grey/green found all over the chassis. On our left is the hand controls for regulating the speed and probably choke as well. 

Time to remove the wheel cowling. Take not yet again of the original green colour to the right of the pic. 
With the cowling unbolted some more of the green colour is visible as well as the red oxide. 
Now you can see the accumulated debris mixed in with old grease on one of the suspension brackets. 
An overall pic showing the chassis beginning to become more bare. 
Some more overall pics showing the green colour. 
A close up view. 
Once the bolts are removed the suspension mounting plate is lowered free from the chassis. 
The side view as the suspension bracket is lowered, revealing the red oxide primer. 
The bracket is mostly free, a lot of accumulated sand clumps found their way behind the plates. 
Overhead one gets a better view of the old desert sand, this gets collected as well for posterity.